
Design studio (sketch, critique, revise)
Everyone sketches, everyone gets honest feedback, and the best parts of each idea survive into the next round.
- Time
- 60 min
- People
- 4–8
- Kind of work
- Generate · Choose
In short
A design studio is a structured sketching session. Each person draws their own solution to one clearly stated need, then shows it to the group. The group critiques each sketch against that need, not against taste. Everyone revises, and the team picks one or two ideas to test. A round takes about 60 minutes.
What it is
A design studio borrows the rhythm of an architecture or art school critique. You work alone first, so every person brings a real idea to the table, including the quiet ones. Then you put the sketches on the wall and talk about them one at a time, always asking whether the sketch meets the need you agreed at the start.
The method has three short loops: sketch, critique, revise. The revision is what makes it different from a normal brainstorm. People steal good parts from each other's drawings and combine them. By the end you have fewer, stronger ideas and a shared reason for why they are stronger. You also have a clear question to test next.
When to use it
Use it when
- You have a well-framed problem, ideally a how-might-we question, and need concrete ways to solve it.
- A screen, form, letter or service moment needs a new layout and people disagree about what it should look like.
- You want people from different teams to own the solution, not just approve it.
- Earlier ideation produced many rough ideas and you need to turn a few into something you can prototype.
Skip it when
- The problem is still vague. Run interviews or a point-of-view statement first.
- The decision is about policy or budget with no visible thing to sketch.
- Only one person has the authority and intends to ignore the group's work.
You need
- Time
- 60 minutes for one full round, 90 minutes if you run a second revision
- People
- 4 to 8 people, mixed roles, plus one facilitator who keeps time
- Materials
- A4 paper, thick black pens, a timer, sticky dots or small notes for feedback, wall space
How to run it
Step 1: State the need in one sentence
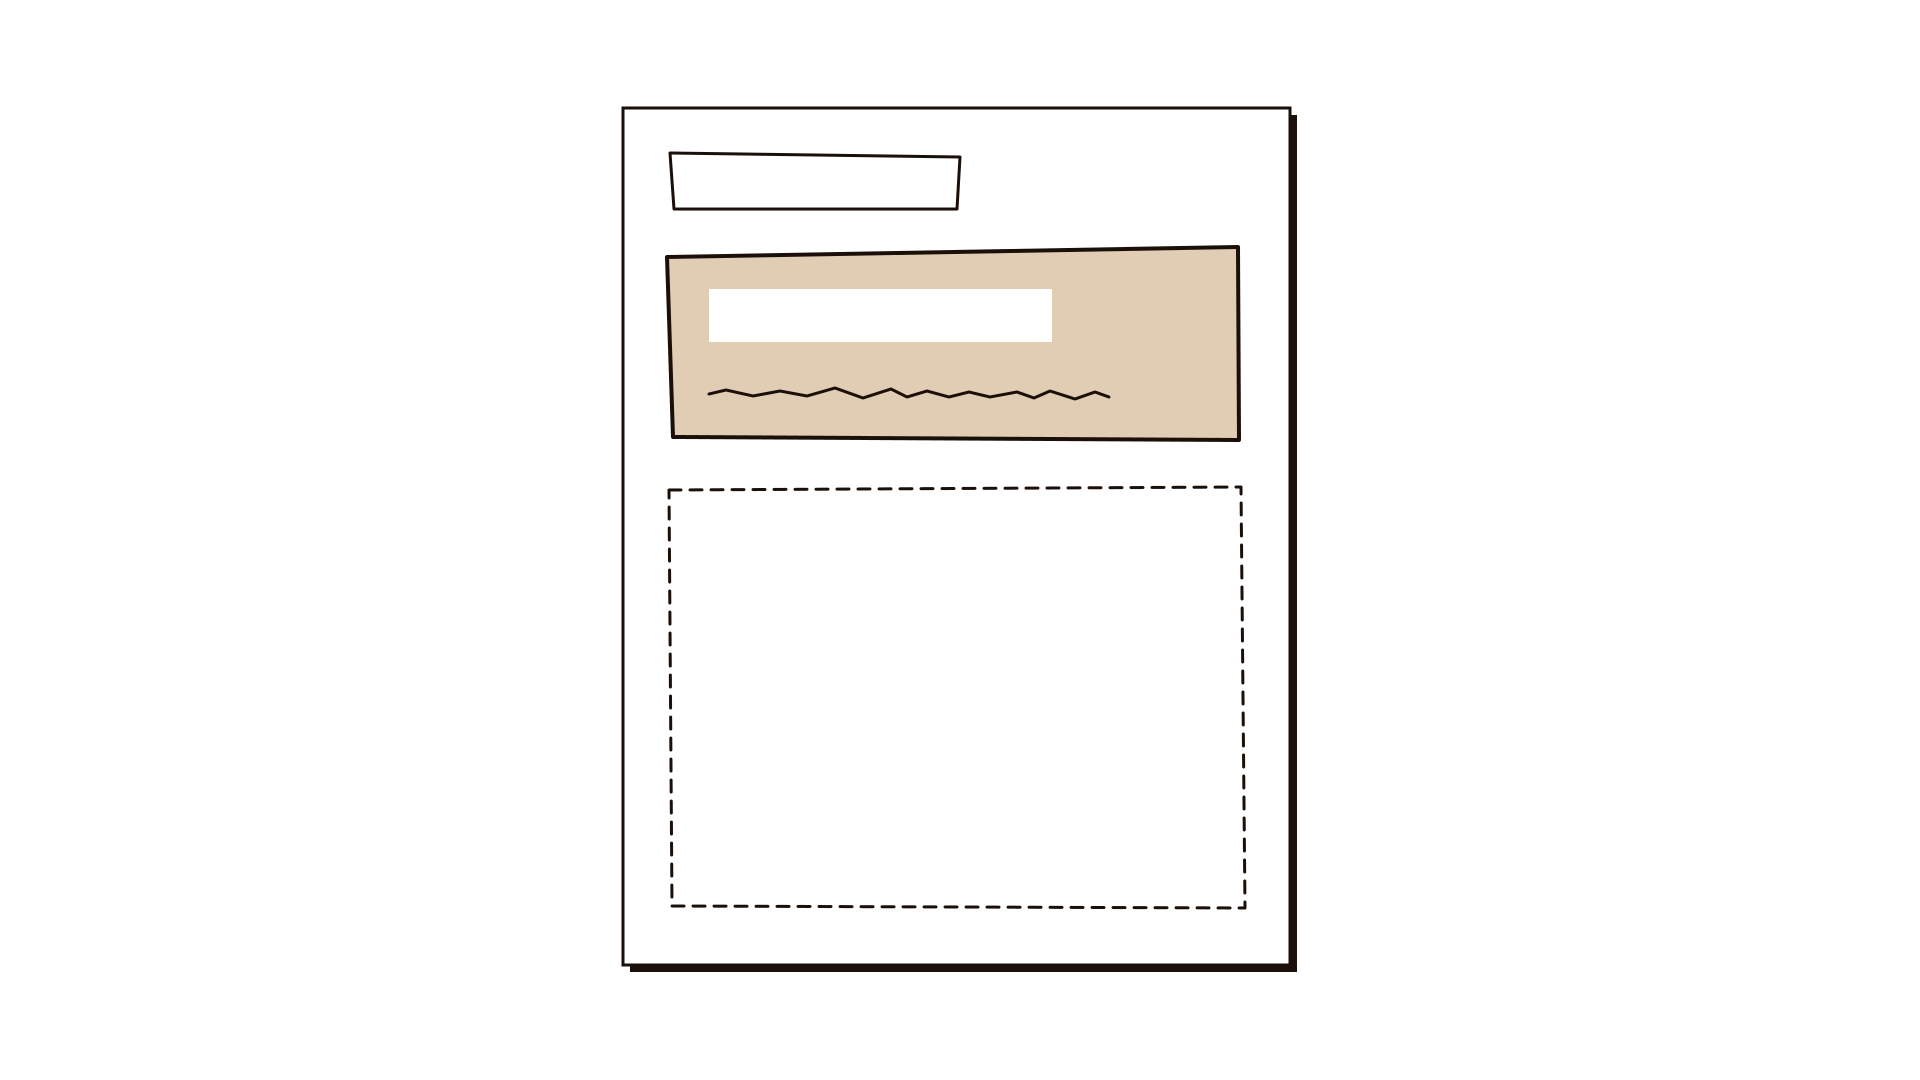
Write the need on a large sheet where everyone can see it, for example 'Applicants need to know what happens next with their permit without calling us.' Add who the user is and one constraint. Spend no more than 5 minutes here. If people argue about the need, stop and settle that first.
Step 2: Sketch alone in silence
Give everyone 10 minutes and 2 to 3 sheets. Ask for rough drawings with labels: boxes, arrows, a few words. Remind people that stick figures are fine and that no one is judged on drawing skill. No talking. Silent work stops the loudest voice from setting the direction.
Step 3: Present in 2 minutes each
Each person sticks their sketch on the wall and explains it in 2 minutes. Ask them to say which part of the need it answers. Others listen and do not comment yet. Keep the timer visible so everyone gets the same time.
Step 4: Critique against the need
Give each sketch 3 minutes of feedback. Use two prompts only: 'What in this meets the need?' and 'What might stop it meeting the need?' Write each comment on a small note and stick it beside the drawing. Steer away from 'I like' and 'I don't like'. Talk about the work, never the person.
Step 5: Revise and borrow
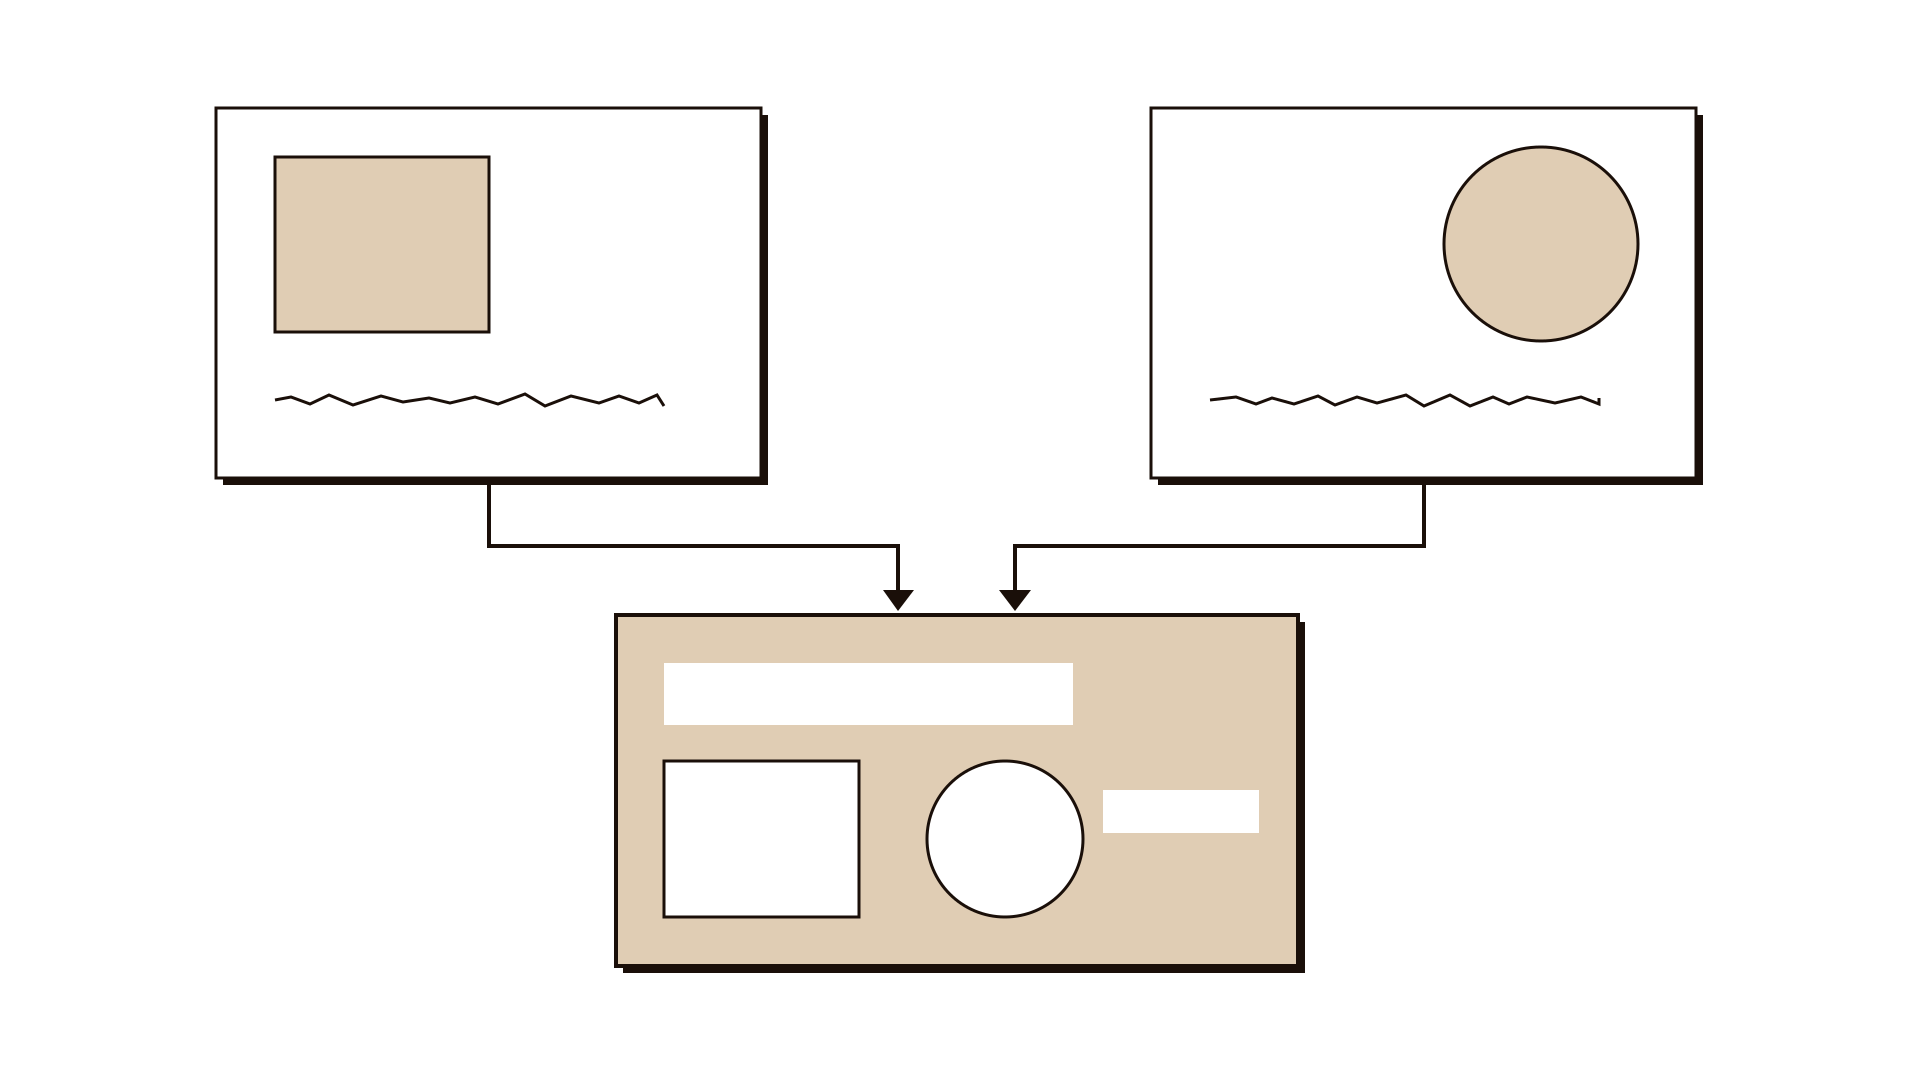
Give everyone another 10 minutes to sketch a second version. Encourage them to take the best parts of anyone's sketch. A revised sketch that combines three people's ideas is a good result. Label borrowed parts so the origin of the idea stays visible.
Step 6: Converge on what to test
Put the revised sketches up. Use a quick dot vote or a short discussion to pick one or two directions. For each, write the riskiest assumption and turn it into a test question, such as 'Will applicants trust a status page enough to stop calling?'
Step 7: Capture and close
Photograph every sketch and the notes beside it. Fill in the worksheet: sketch, feedback, revision, test question. Agree who will build the first rough prototype and by when, usually within a week.
Worked example
A city municipality's building permit team receives about 400 calls a week from applicants asking where their application stands. Six people join a design studio: two permit officers, a call-centre supervisor, a web designer, an IT analyst and a policy advisor.
The facilitator writes the need: 'Applicants need to know the status and next step of their permit without calling.' The constraint is that the back-office system updates only once a day.
In 10 silent minutes, people draw very different things. The supervisor sketches a text message for every status change. The web designer draws a status page with a large next-step box at the top. A permit officer draws a printed checklist handed out at submission.
During critique, the group notes that the status page answers the need best, but the empty space below the next-step box worries people. What goes there? A permit officer points out that most calls are about missing documents, not status.
In revision, three people combine ideas: a status page with the next step on top, a list of missing documents below, and a text message only when the applicant must act. The test question becomes: 'Will applicants who see a missing-documents list upload them without calling?' The team agrees to test a paper version with eight applicants the following week.
IllustrativeTips and mistakes
Tips
- Hand out the same pens and paper to everyone. Fancy tools make some sketches look finished and others look weak.
- Ask senior people to sketch too, and to present last so they do not anchor the room.
- Keep a 'parking' sheet for good ideas that do not answer this need.
- If the group is larger than 8, split into two studios with the same need and compare results.
Common mistakes
- Skipping the solo sketch and drawing together on one whiteboard. You lose most of the variety.
- Letting critique drift into personal taste or drawing quality.
- Stopping after the first round. The revised sketches are usually much better.
- Choosing a winner without writing what you need to learn from testing it.
What you walk away with
You leave with a wall of photographed sketches, one or two revised concepts that combine the best parts of the group's thinking, and a clear test question for each. The next step is to turn the strongest concept into a paper prototype and try it with a few real users. If the group cannot agree on a direction, a dot vote or a weighted decision matrix will help you choose.
Questions people ask
How is a design studio different from crazy eights?
Crazy eights is a fast warm-up where each person sketches eight ideas in eight minutes. A design studio is slower and deeper: fewer sketches, structured critique and a revision round. Many teams run crazy eights first and bring the best ideas into a design studio.
Do I need to be able to draw?
No. Boxes, arrows, stick figures and labels are enough. The aim is to make an idea visible so others can respond to it. Facilitators often say this out loud at the start because many people freeze at a blank page.
How many rounds should we run?
One sketch round plus one revision round is the minimum. If ideas are still far apart after revision, run a second critique and revision, then choose. More than three rounds rarely adds much in one session.
Tool card
The worksheet your team fills in, one box per field.
- Sketch
- Feedback
- Revision
- Test question