
Experience mapping (journey map)
Lay out a real journey moment by moment, note what the person does and needs at each one, and tie every moment to evidence you have gathered.
- Time
- 60 min
- People
- 4–6
- Kind of work
- Understand · Frame

In short
An experience map, often called a journey map, is a visual timeline of one person's journey through a service. For each moment you record what they do, what they need and the evidence behind it. A team of four to six can build a first map in about an hour from research notes and see where the journey breaks.
What it is
An experience map is a line drawn from the moment someone first needs a service to the moment they are done with it. Along that line you place moments: the call, the form, the wait, the visit, the follow-up. Under each moment you write what the person does, what they need at that point and the evidence that tells you so.
The map turns scattered research into one shared picture. People inside an organisation usually see only their own part of the journey: the call centre sees calls, the back office sees files, the field team sees visits. Laid end to end, the moments show where hand-offs fail, where people repeat themselves and where a need goes unmet for days. Because each moment carries evidence, the map stays honest. It shows what you know, and the gaps show what you still need to find out.
When to use it
Use it when
- After interviews or observations, to bring the findings into one view.
- When a service crosses several teams and nobody owns the whole journey.
- When you need a shared starting point before choosing which problem to work on.
- When you want to show decision makers what the experience looks like from the outside.
- When you are comparing the journey of different groups, such as first-time and returning applicants.
Skip it when
- Before you have any research. A map built only from assumptions looks convincing and can mislead.
- When the problem sits in one step only. Use five whys or a fishbone on that step.
- When you need to document internal process rules in detail. A process flowchart is the better tool.
You need
- Time
- About 60 minutes for a first map, plus time to fill evidence gaps afterwards.
- People
- Four to six people who did the research or work in different parts of the service.
- Materials
- A long wall or roll of paper, sticky notes in two or three colours, markers, and your interview and observation notes.
How to run it
Step 1: Choose whose journey and where it starts
Pick one person type and one journey, for example a family arranging home care after a hospital discharge. Agree the start point (the first sign of need) and the end point (the need is met or abandoned). Write both at the ends of the wall.
Step 2: Lay out the moments
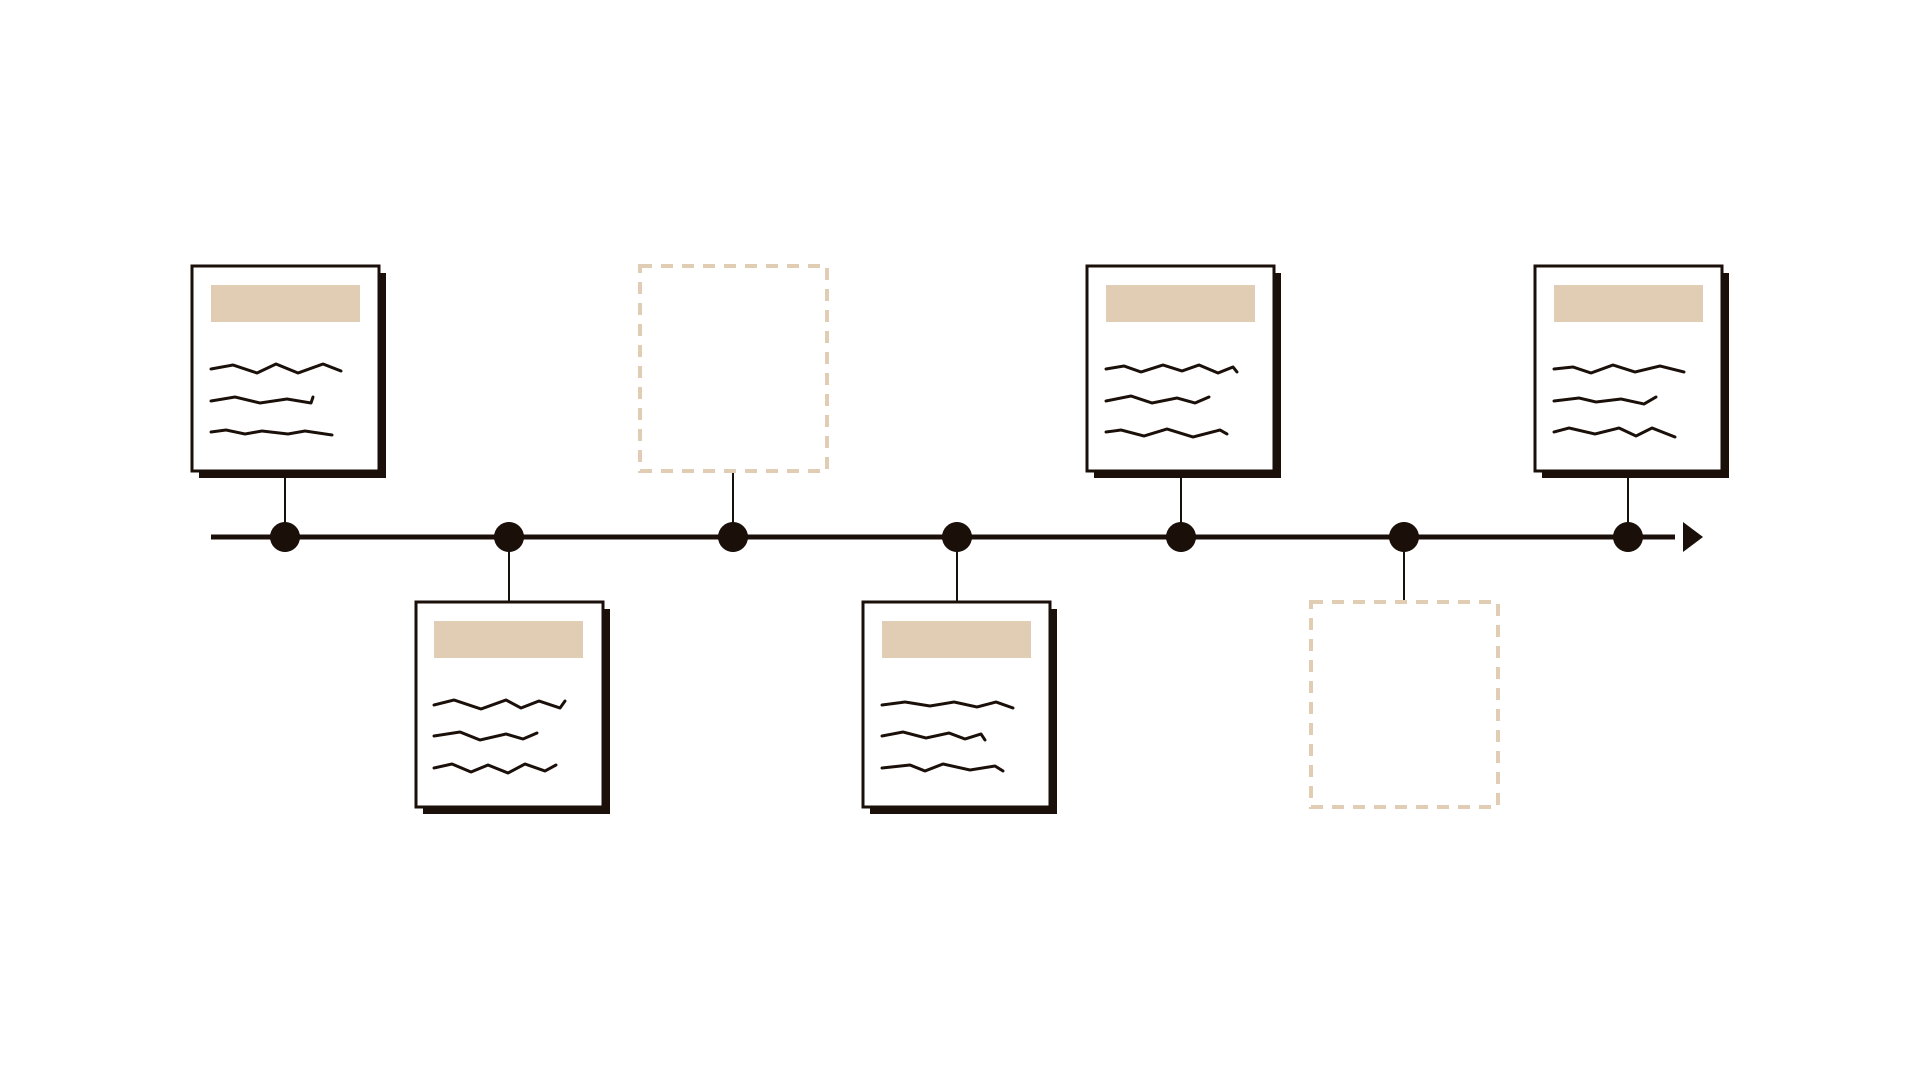
Using your research notes, write each Moment on its own sticky note and place them left to right in order. Aim for 8 to 15 moments. Include waiting and silence: a week with no news is a moment.
Step 3: Add what the person does
Under each moment, write the Action the person takes: calls the hotline, uploads a report, waits at home, calls again. Use their language, not your process names.
Step 4: Add what they need
Next row down, write the Need at that moment: to know who is coming, to understand the next step, to avoid repeating their story. Needs are stated from the person's side, never as a feature you plan to build.
Step 5: Attach evidence to every moment
In the Evidence row, cite where each moment comes from: interview 3, observation at the call centre, case file sample. Where you have nothing, mark the slot as a gap in a different colour. Do not fill gaps with guesses.
Step 6: Walk the map aloud
Have one person narrate the journey from start to end in the first person while the rest listen. Stop wherever it sounds wrong or a need is clearly unmet. Mark those points as pain points.
Step 7: Agree the two or three moments that matter most
Close by choosing the moments where an unmet need does the most harm, backed by the strongest evidence. These become the focus of the next piece of work.
Worked example
A hospital wants to understand why families struggle after a patient is discharged with home care. The team has notes from eight interviews with families, two shifts observing the call centre and a sample of case files.
Five people map the journey of an adult child arranging care for a parent. The wall starts at told about discharge and ends at first home visit completed. They place 12 moments in between.
At the moment called upload medical report, the Action reads: tries to upload a PDF on the phone, fails, drives to the hospital to hand it in. The Need reads: to send the report from home. The Evidence cites three interviews and one case file note.
Between request submitted and visit confirmed there is a five-day gap. The family's Action is: calls the hotline twice a day. The Need is: to know someone is coming and when. The call centre staff on the team recognise the pattern from their logs.
Walking the map aloud, the team agrees that the five-day silence and the failed upload are the two moments that matter most. Each has clear evidence and a clearly stated need, and the team moves on to ask why the silence happens.
IllustrativeTips and mistakes
Tips
- Map one person type at a time. A map that tries to cover everyone ends up describing no one.
- Invite someone from each team that touches the journey. They will spot their own part immediately.
- Use one colour for moments, another for needs and a third for evidence gaps. It makes the wall readable at a glance.
- Keep the map up for a week so people can add evidence as they find it.
- Photograph the wall and type it up within a day; paper maps have a way of disappearing.
Common mistakes
- Mapping the official process and calling it the experience.
- Writing needs as solutions, such as needs an app, which shuts down options too early.
- Leaving out waiting time, which is often where the worst experience sits.
- Making the map beautiful before it is right. Polish comes after the evidence is in.
What you walk away with
Your team leaves with one shared picture of the journey, moment by moment, showing what people do, what they need and where the evidence comes from, with gaps marked honestly. You also have the two or three moments that matter most. Next, take each of those moments into five whys to find out why it happens, and go back to stakeholder interviews to fill any evidence gaps.
Questions people ask
Is an experience map the same as a customer journey map?
Yes, in everyday use the two names mean the same thing. Some teams use experience map for a broader view that includes life outside the service, but the method is the same.
How long does it take to make an experience map?
A first map takes about an hour with a team that has done the research. Expect another few days of filling gaps and checking it with people who use the service.
Experience map vs service blueprint?
An experience map shows the journey from the person's side. A service blueprint adds the internal steps, systems and staff behind each moment. Start with the experience map, then add the behind-the-scenes layer if you need it.
Tool card
The worksheet your team fills in, one box per field.
- Moment
- Action
- Need
- Evidence