
A journey map that leads to change, not a poster
How to build a customer journey map that changes a service, not one that decorates a wall: scope, evidence, owners and the fixes you commit to.
A journey map that leads to change, not a poster
A journey map leads to change when it answers one question for one type of person, is built from evidence rather than workshop guesses, and ends with named owners for specific fixes. Most maps fail on all three: they try to show everything, they are drawn from memory, and they finish as a large print in a corridor. The steps below keep the map small, honest and attached to decisions.
Why most journey maps end up as posters
A journey map lays out what a person goes through to reach a goal, stage by stage: what they do, where they touch the organisation, what they think and feel, and where it goes wrong. Done well, it lets a team see the experience from outside its own department for the first time.
The trouble is what happens next. The map is presented, everyone agrees it is insightful, and nobody's job changes. Usually that is because the map was designed to be shown, not used. It covered the whole customer lifecycle, so no one owned it. It was built from what staff believe customers experience. And it stopped at "pain points" without turning them into work.
How to build one, step by step
1. Start with the decision, not the map. Before drawing anything, write down what you want to be able to decide when the map is done. "Which three changes would most reduce drop-outs in the first month of membership?" is a good purpose. "Understand the customer journey" is not. The decision tells you where the journey starts and ends, and who needs to be in the room.
2. Pick one person and one goal. A map for "all customers" is a map for nobody. Choose one group defined by what they are trying to do: a first-time applicant, a parent registering a child, a small business opening an account. If two groups have very different journeys, make two maps. Name the goal in their words, not yours: "get my child into a school near home", not "complete the enrolment process".
3. Set the boundaries. Write a start point and an end point. Starting earlier than your service usually helps: the journey begins when the person first realises they need something, not when they reach your website. End where the goal is met or abandoned. Keep it to a span you can actually study, typically five to eight stages.
4. Gather evidence before the workshop. This is the step most teams skip. Talk to a handful of people who recently made the journey, including some who gave up. Watch the journey happen where you can: sit at the counter, follow the call, try the online form yourself. Pull what data you already have, such as complaint themes or where people drop off in a process. The contextual observation guide covers how to watch without interfering. Our article on interview mistakes covers how not to waste the conversations.
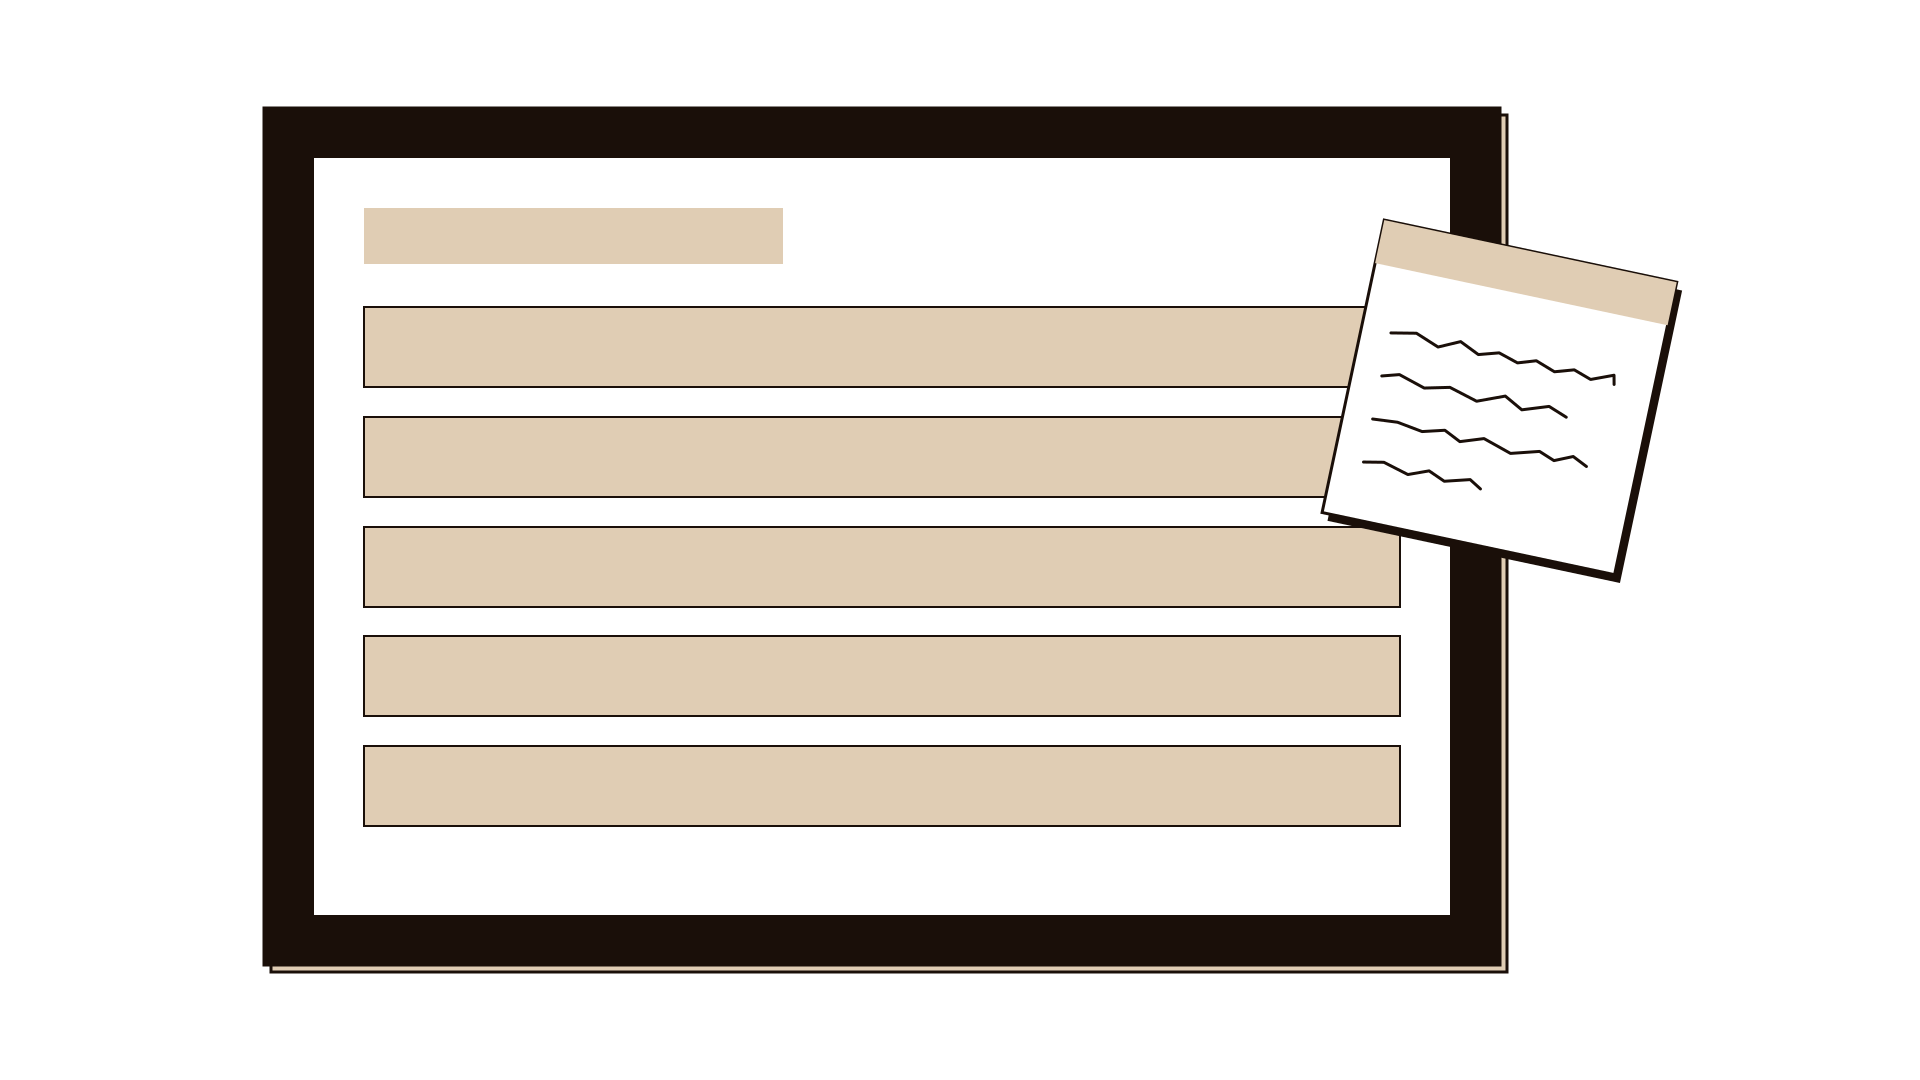
5. Draft the map in rows. Across the top, the stages. Down the side, a small number of rows. A practical set:
- what the person is doing
- touchpoints (channel, document, person)
- what they are thinking, in their own words
- how it feels, high or low
- what goes wrong, with the evidence for it
Mark every cell with where it came from: an interview, an observation, data, or an assumption. Assumptions are allowed, but they must be visible. The experience mapping guide has a canvas laid out this way.
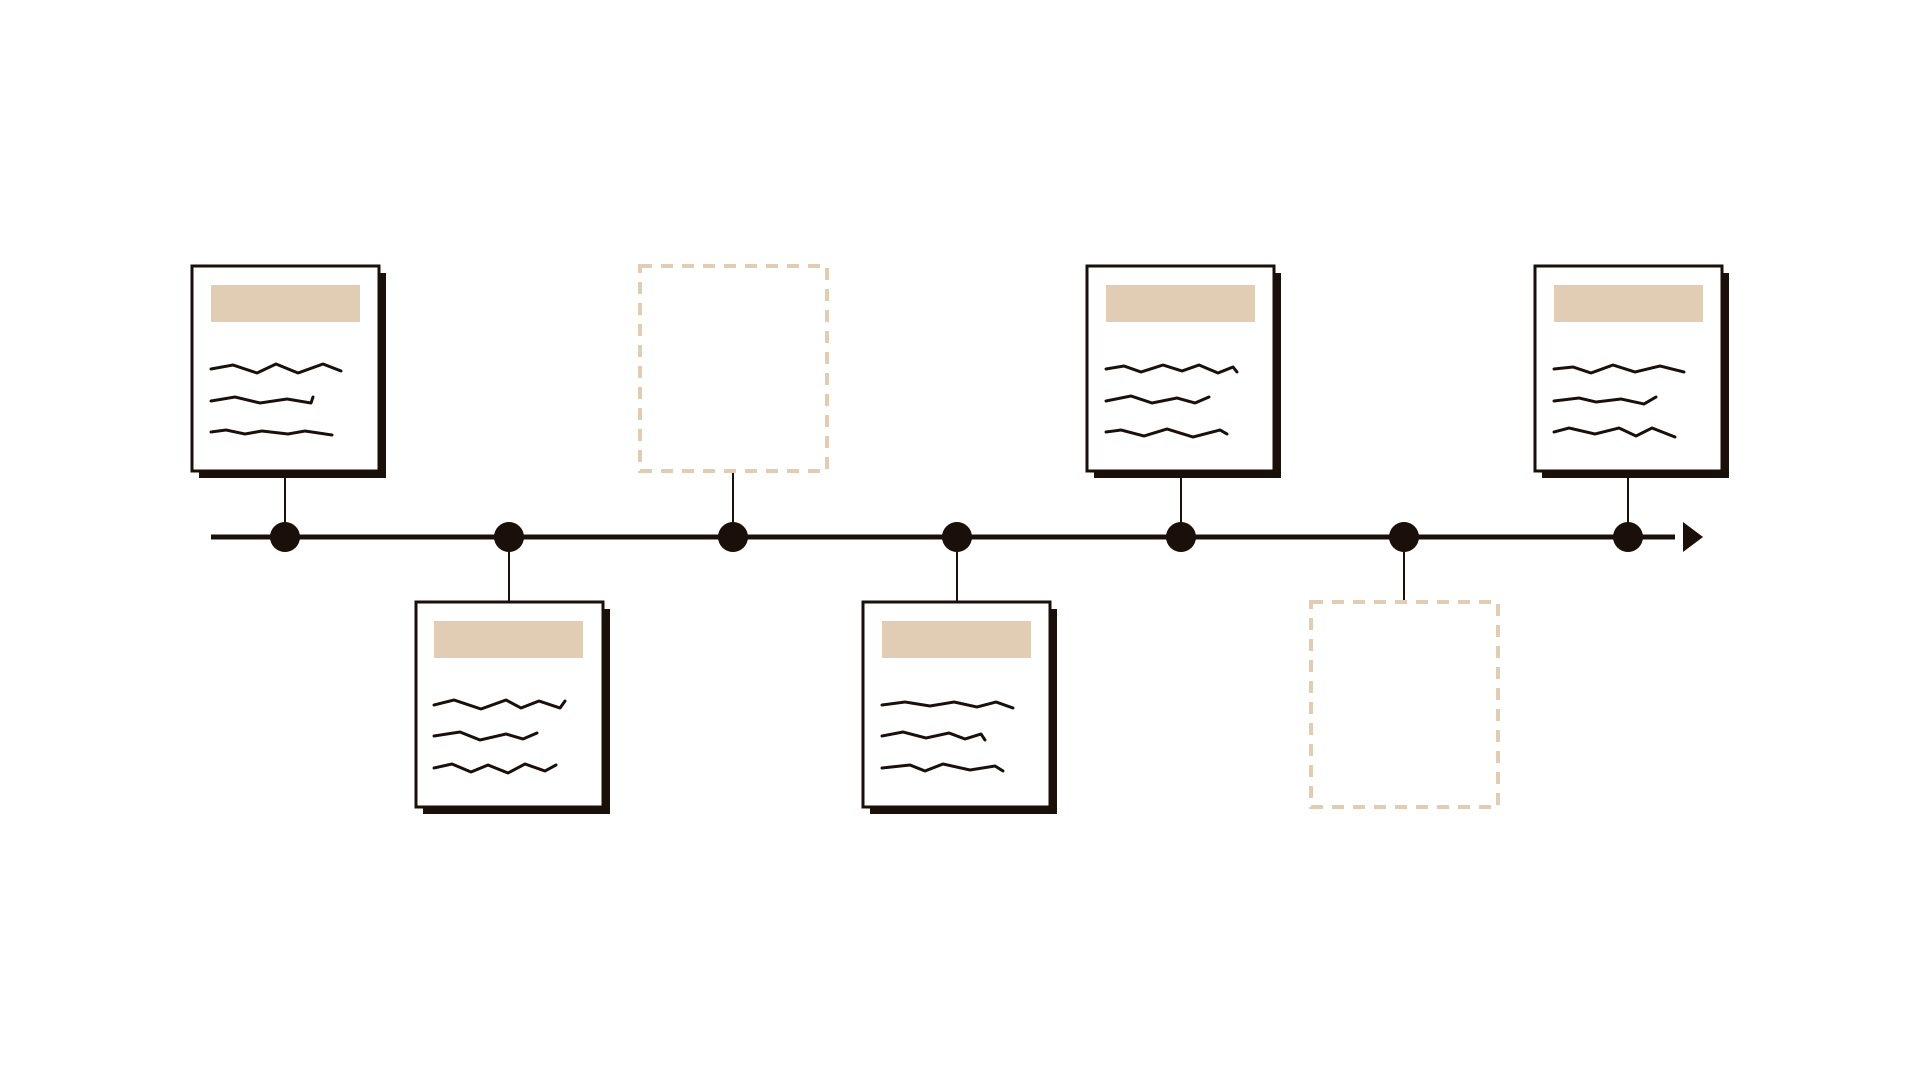
6. Add the backstage where it matters. A customer-facing map shows symptoms. Causes usually sit behind the counter: a handover between two teams, a system that cannot share data, a policy written for a different case. For the two or three worst moments, add what happens backstage. If you need to go deep, that is the job of a service blueprint, the technique introduced by G. Lynn Shostack in the Harvard Business Review in the 1980s.
7. Choose the moments that matter. Not every low point is worth fixing first. Pick the moments where people abandon the journey, where a small failure creates a large cost later, or where the emotional low is deepest. Limit yourself to three. Write each as a short problem statement the team can work on.
8. Turn each moment into an owned fix. For each chosen moment, generate options, then place them on an impact-effort matrix. Agree one change to try, one person who owns it, a date, and what you will look for to know it worked. If ownership crosses departments, settle it in the room with a simple RACI. A map without at least one owned fix is not finished.
9. Keep the map alive. Put a review date on it. After the fixes go in, check the moments again with real people. Update the map, and retire stages that no longer cause trouble. A map that is never revised drifts back into being a poster.
Do's and don'ts
Do
- Write the decision the map must support at the top of the map itself.
- Include people who abandoned the journey; they show you the worst moments.
- Label every insight with its source, so assumptions can be challenged.
- Invite the people who own the touchpoints, including front-line staff.
- Stop at three priority moments and give each an owner and a date.
Don't
- Map the entire customer lifecycle in one sitting.
- Fill the emotion row with guesses. If you don't know how it felt, ask.
- Let one department map a journey that crosses five.
- Spend more time on the visual design than on the evidence.
- Present the map as the deliverable. The deliverable is the change.
Illustrative example
Illustrative. A regional hospital trust wanted to reduce missed outpatient appointments. Its first map, drawn in a half-day workshop by administrative staff, showed a tidy journey from referral letter to clinic visit, with "patient forgets appointment" as the main pain point. The proposed fix was more reminder texts.
The team then ran a second round. They spoke to a dozen patients who had missed an appointment in the previous three months and sat with the booking team for two mornings. The new map started earlier, at the moment the GP said "you'll be referred", and showed a long silent stretch where patients heard nothing for weeks. Several patients had received a letter with a date they could not make, found the phone line busy, and simply not come. Backstage, the booking team could not offer changes by text because the system did not allow replies.
They chose three moments: the silent wait, the first letter, and rescheduling. One fix was owned by the booking manager: a simple acknowledgement message on referral. One went to the IT lead: allowing reply-to-rebook on reminder texts, tested in one clinic first. The third, rewriting the letter, went to the patient experience lead, with a review set for three months later.
Questions people ask
What is the difference between a journey map and a service blueprint? A journey map shows the experience from the person's side: what they do, think and feel. A service blueprint adds what the organisation does to make each step happen, including backstage staff, systems and policies. Use a journey map to find where it hurts; use a blueprint to find why and fix it.
Should a journey map show the current state or the future state? Start with the current state, built from evidence. A future-state map is useful once you know what is broken, as a way to agree the target experience. Drawing the future first usually produces a wish list that skips the real causes.
How long does it take to make a journey map? The workshop itself can be a day or less. The evidence gathering before it is what takes time, often a couple of weeks for interviews and observation. Teams that skip the evidence finish faster and change less.
Where to go next
The experience mapping guide gives you the canvas, the touchpoint matrix helps when many channels are involved, and the service blueprint takes you backstage. For the bigger picture of which tool fits which stage, read which innovation tool should I use, and when you are ready to try the fixes, see the cheapest prototype you can make this week.