
Printed and physical: when the canvas belongs on the wall
When a printed canvas on the wall beats a digital board, how to print and run one well, and how to keep the work once the session ends.

Printed and physical: when the canvas belongs on the wall
Put the canvas on the wall when the people who need to decide are in the same room, when the work benefits from standing, moving and pointing, and when you want the canvas to stay visible for days. Keep it digital when the team is spread out, when the work must be edited by many people over weeks, or when nobody will look after a wall. In practice, the best projects use both: paper for the intense days, a shared digital record for everything else, and a clear habit of moving from one to the other.
What the wall does that a screen does not
A printed canvas is not just a bigger screen. It changes how a group behaves.
- Bodies move. People stand, walk to the wall, point, and gather around a cluster. Energy in the room rises when people stop sitting.
- Everyone sees the same thing at once. No one scrolls to a different corner or zooms in on their own section.
- Seniority flattens a little. A director holding a marker at the wall is doing the same thing as a junior analyst next to them.
- It stays up. A wall left in a project room keeps reminding people of the work. A digital board closes when the laptop does.
- It invites passers-by. Colleagues who walk past ask questions. That is free stakeholder engagement.
The wall's limits are just as real: it cannot be in two cities, it is hard to edit cleanly, and it gets taken down by facilities on a Thursday evening.
When to choose paper, digital, or both
| Situation | Best choice |
|---|---|
| Everyone in one room for a full-day or multi-day session | Printed |
| Executive session where you need focus and no laptops | Printed |
| A project room used for weeks by one co-located team | Printed wall, photographed and copied weekly |
| Team across sites or time zones | Digital |
| Many contributors editing over a long period | Digital |
| Hybrid session with some people remote | Digital as the master, with a printed copy for the room only if someone keeps them in sync |
| Workshop with users or the public | Printed; simpler for people unfamiliar with digital tools |
Step-by-step: running a printed canvas well
1. Choose the right canvas for the wall
Not every method benefits from being large. Canvases that a group builds together and returns to are the best candidates: the Business Model Canvas (created by Alexander Osterwalder and published by Strategyzer), a service blueprint, an experience map or a storyboard. Simple lists and voting sheets rarely need printing.
2. Print big enough to work on
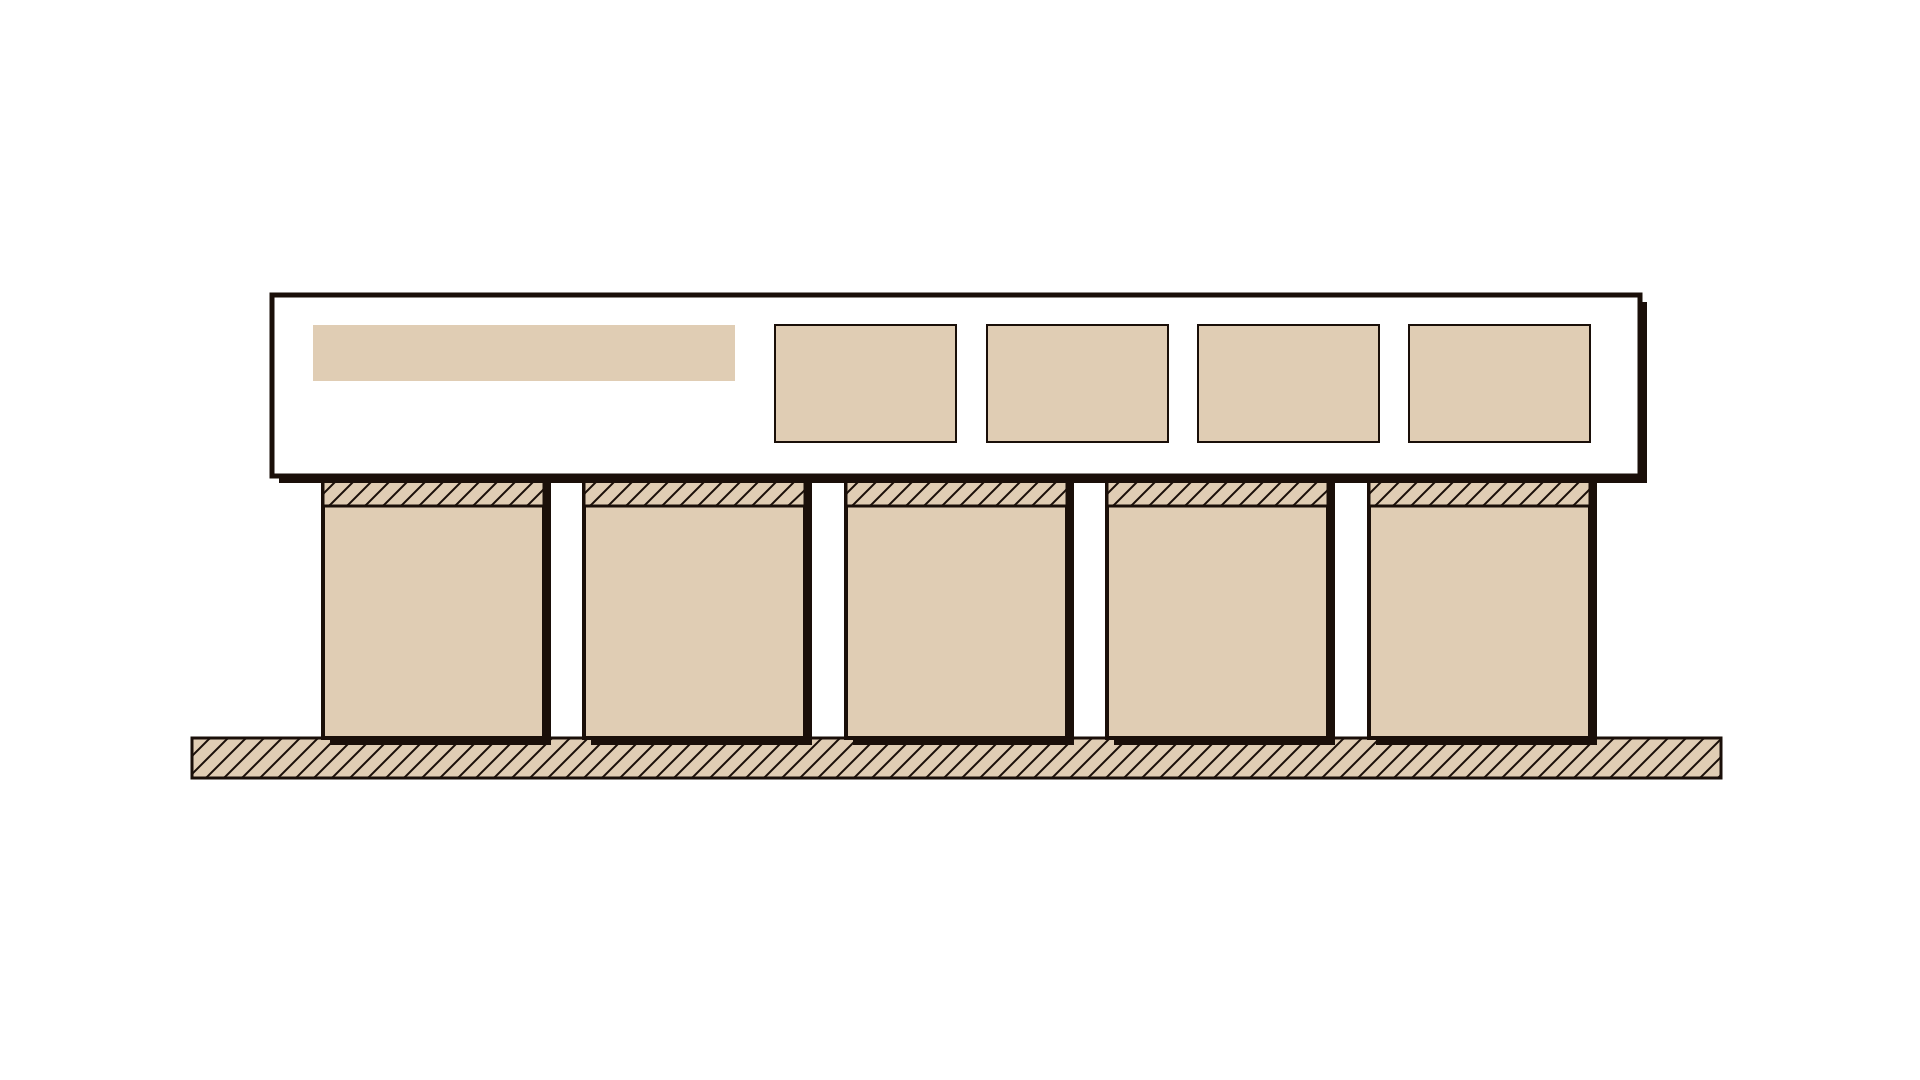
As a rule of thumb, A0 (about 84 × 119 cm) works for a canvas a group of five to eight people will fill with sticky notes; A1 is enough for a small team or a single section. Long journeys and blueprints work better on a roll of paper several metres wide, with the lanes drawn or printed as strips. Test one box: if a standard sticky note does not fit at least three or four times, the print is too small.
3. Prepare the wall before people arrive
Check that the wall is free, that tape will not damage the paint, and that facilities know the work must not be removed. Put the canvas at a height where most people can reach the top row. Leave space beside it for a "parking area" for questions and ideas that do not fit yet.
4. Set materials and rules
Give everyone the same pen, thick enough to read from two metres. One idea per sticky note, written in capitals or clear print, no more than a short phrase. Use colour for one meaning only, such as one colour per group of stakeholders or one for evidence and one for assumptions, and put the key on the wall.
5. Work silently first, then together
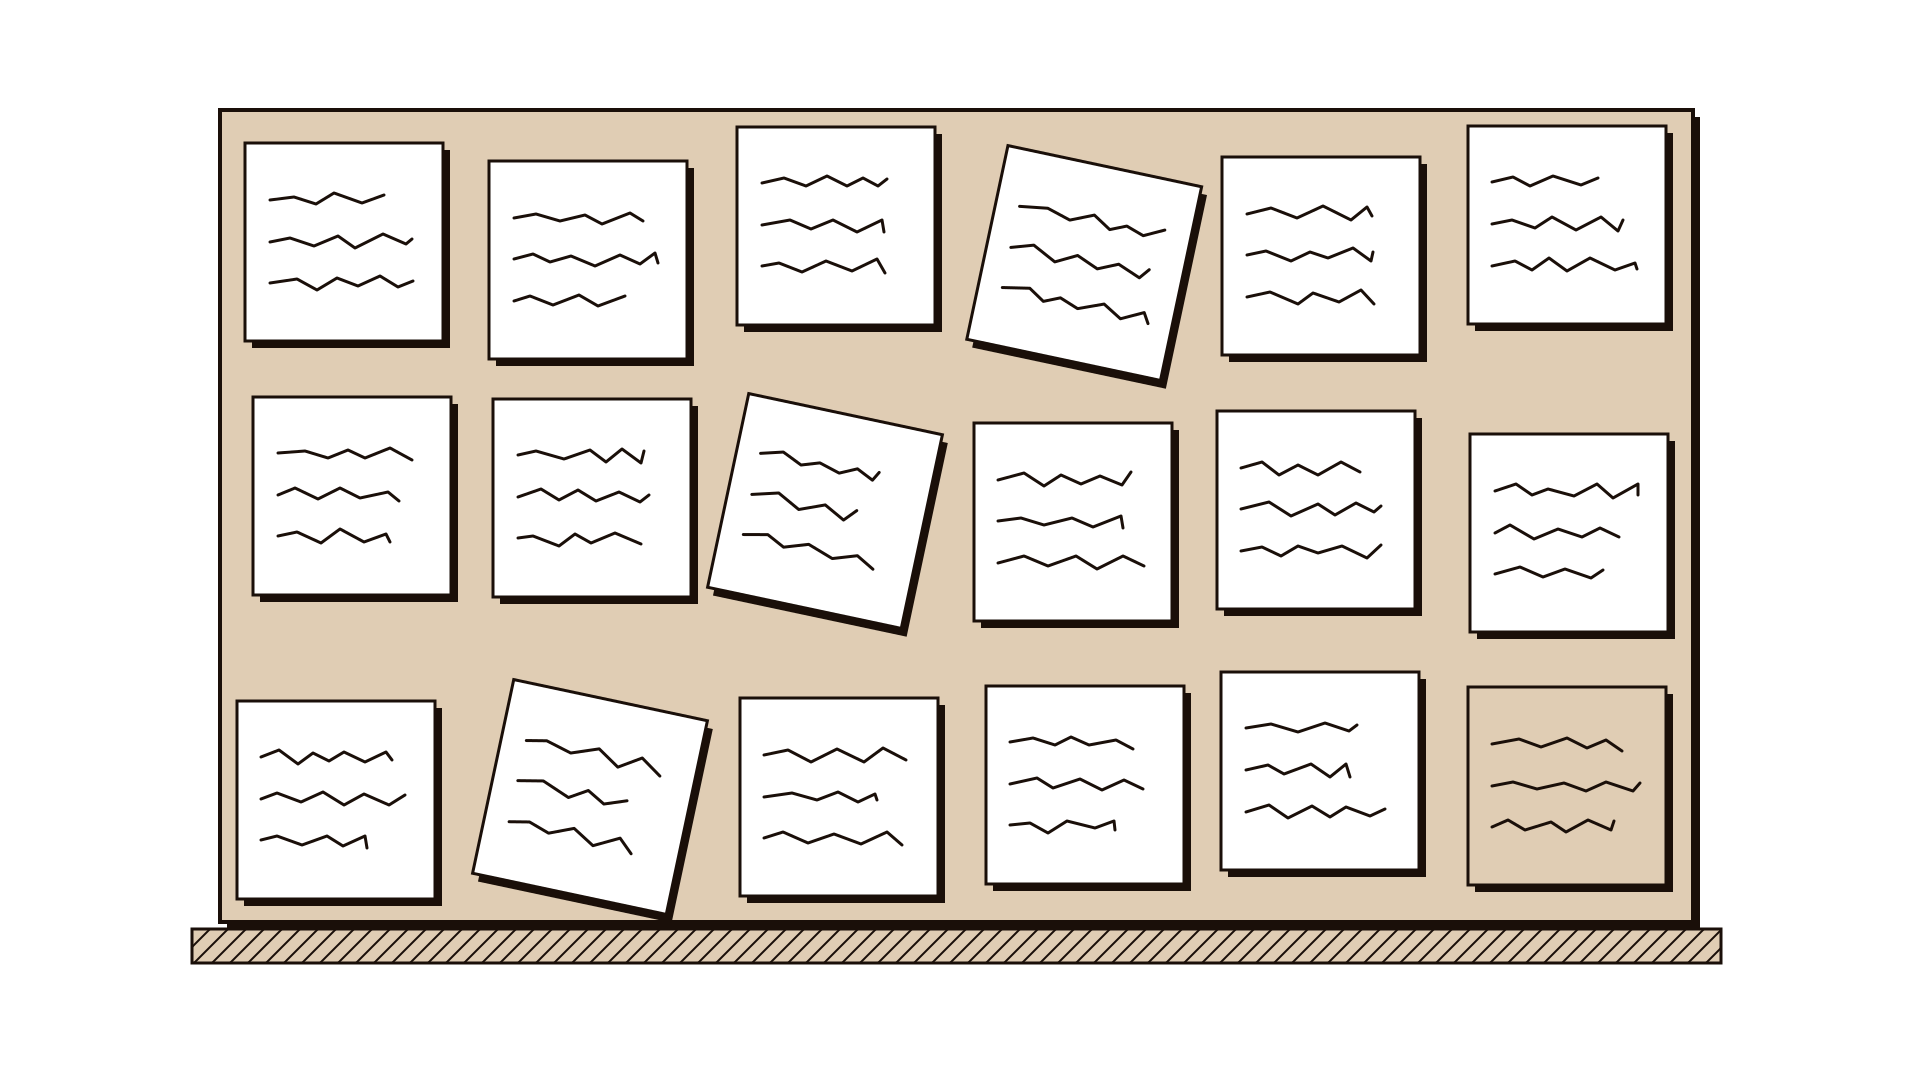
Ask people to write individually before anything goes on the wall, then place their notes and talk through them. This avoids the first confident voice setting the direction. Group notes into themes with affinity grouping while everyone stands at the wall.
6. Mark decisions on the canvas itself
A wall full of notes is not a result. Use one visible mark for what the group has decided, such as a coloured dot or a frame drawn around it, and write the decision in a sentence on a separate card next to it. If you test ideas at the wall, a feedback capture grid on a flip chart keeps reactions in one place.
7. Capture before you take anything down
At the end of each session, photograph the whole canvas straight on, then each section close up. Within a day, transcribe the content into your shared digital record: the decisions, the open questions and who brought what. Photos alone are not a record; nobody searches a photo.
8. Decide what happens to the wall
If the canvas stays up, name someone who looks after it and updates it. If it comes down, roll it rather than fold it, label it with the project and date, and store it with the project files. A wall that slowly fades with nobody touching it sends its own message.
Illustrative example
Illustrative. A regional hospital in Scandinavia ran a three-day project to redesign how patients are discharged. The team of nine, including two nurses, a pharmacist, a social worker and a patient representative, worked in one room.
They printed a service blueprint as five strips of paper, each three metres long, one per lane. Staff from the wards walked in during breaks and added notes about steps the team had missed, including a pharmacy approval that often delayed discharge by several hours. On day three, the team marked three changes with red frames and wrote each as a decision card.
That evening a project lead photographed the wall and transcribed it into the shared project record. When the ward manager, who had missed the sessions, reviewed the work the next week, she read the record, not the photos. The printed strips stayed up in the ward office for a month as the changes were tested.
Do's and don'ts
Do
- Print large enough that each box takes several sticky notes.
- Give everyone the same thick pen and one rule for colours.
- Work silently first, then build together at the wall.
- Mark decisions visibly and write each one as a sentence.
- Transcribe the wall into a shared record within a day.
Don't
- Print a canvas just to make the room look busy.
- Run a hybrid session where the wall is the master copy and remote people cannot see it.
- Treat photos of sticky notes as the output; see why your workshop ended in photos of sticky notes.
- Leave a wall up for weeks with nobody looking after it.
- Let the most senior person hold the only marker.
Questions people ask
Is a physical whiteboard better than a digital one for workshops? For a group in one room working intensely for a day or more, physical usually produces more energy and focus. For distributed teams or long projects with many editors, digital is better. Most good projects use both with a clear handover from wall to record.
What size should I print a Business Model Canvas? A0 is a common choice for a group working with sticky notes; A1 suits a small team. The test is simple: each box should fit several standard sticky notes.
How do you save the work from a physical workshop? Photograph the whole wall and each section, then transcribe decisions, open questions and contributions into a shared digital record within a day. The photos are a backup; the written record is what people will actually use.
Where to go next
This piece sits in the lab hub; read the pillar what an innovation lab is, and why most fail, and for teams that cannot share a wall, running innovation with distributed and hybrid teams. Method guides that shine on a wall: the Business Model Canvas, the service blueprint, the experience map and the paper prototype.